This section will give you recommendations for scanning photos and documents for your ShtetLinks pages \ ShtetLinks Photograph Gallery. It is not intended to be a primer on scanning or instructions for your particular scanner or software. Whether you own a scanner, have enlisted a friend's scanner to help, or are using a service bureau such as Kinko's, the basic principles are the same.
If you do not have access to a scanner, but would like to include photos on your site, JewishGen will provide scanning services for you. Read the guidelines for more information.
When you are scanning photos or documents for the web, you are balancing two opposites: file size and resolution. Ideally, every photo would be as big as your screen and as sharp as possible, however, setting your scanning software to accomplish that end will cause the resulting files to be huge and unweildy for web purposes. Remember that web users do not like to spend time waiting for graphics to download (do you?). Even though your cemetery picture is really amazing, you might not keep your audience's attention long enough to download that 200K file.
The two variables you can play with in your scanning software in order to manage the file size are the resolution ("dots per inch" or "dpi") and the amount of screen the photograph takes up when it's displayed (either in inches or in pixels of width and height). Below are some recommended settings.
Have it scanned in black and white. That may sound like a no-brainer, but if your scanner is set for color and you put that black and white photo on it, you will be creating a much larger file than necessary.
Each photo or graphic you put on the page adds to the downloading time because each graphic is loaded individually. If you really need to have multiple photos on a page, the best approach is to use "thumbnails", or smaller versions of the pictures, and then link them to a larger version of the same photo. This way you give the user a choice of seeing the larger photo (and waiting for it to download!) or not. It's a good idea to add a legend to the photo showing the size of the file to help the user make a decision (e.g. "Click here for a larger view of this photo (100K)").
Ideally, the size of your graphics files should be no larger than 60K. In order to achieve that, here are some rules of thumb:
The rules of thumb above apply to documents as well as to photographs, with the exception that a third element has to enter the equation: legibility. Depending upon the purpose of the document in your website (e.g. just to serve as a visual example of something vs. providing detailed information) you might need to allow a bigger file size in order to preserve enough detail for the document to be legible. If the printing on the document is small, you can scan it at more than 100%, depending upon your software settings. After you have scanned the document, check to see how many pixels wide it is. If it's more than 400-500, the user will have to scroll sideways to see the right side. Reducing the size after scanning sometimes causes a loss of resolution, so it's better to scan at the correct percentage than to scan it larger and then reduce it. You might have to try a lot of different settings in order to get a final product that you are happy with.
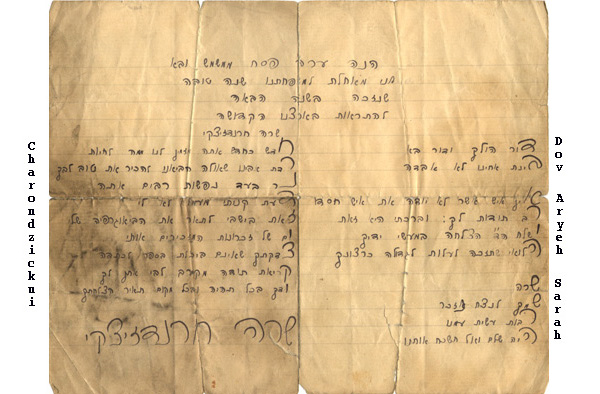
In nearly every case, a scanned document will take much longer to load and be more difficult to read than a text file of the same information. Scanning documents is recommended only in cases where the format or appearance of the document has some historical or aesthetic significance above and beyond the information contained on it (see an example here). If the information is the key part, then an image of the actual document might not be necessary. Consider keying the information into a text file rather than scanning the document. It might seem easier to scan pages from a Yizkor book or city directory, but your up-front investment of time will save others the time of waiting for downloads, disk space on your server, and provide better legibility for users over the long run.
Please remember when submitting an image for inclusion within the Gallery that you need a relevant name for the image. Many images will require a caption. When submitting an image, please clearly identify which caption is for which image if you are submitting many of them. Please note you only have to provide one image, we will create a thumbnail of the main image. Finally please send the image(s) to ShtetLinks Coordinators. and clearly mark that it is for inclusion within the Shtetlinks Photograph Gallery
Links to other sites for more technical scanning tips:
Know of any other sites with good scanning tips that should be added to this list? Drop me a note: John Berman